
This posting got some small updates on 24.03.2020 - that might be the reason you see something different than before.
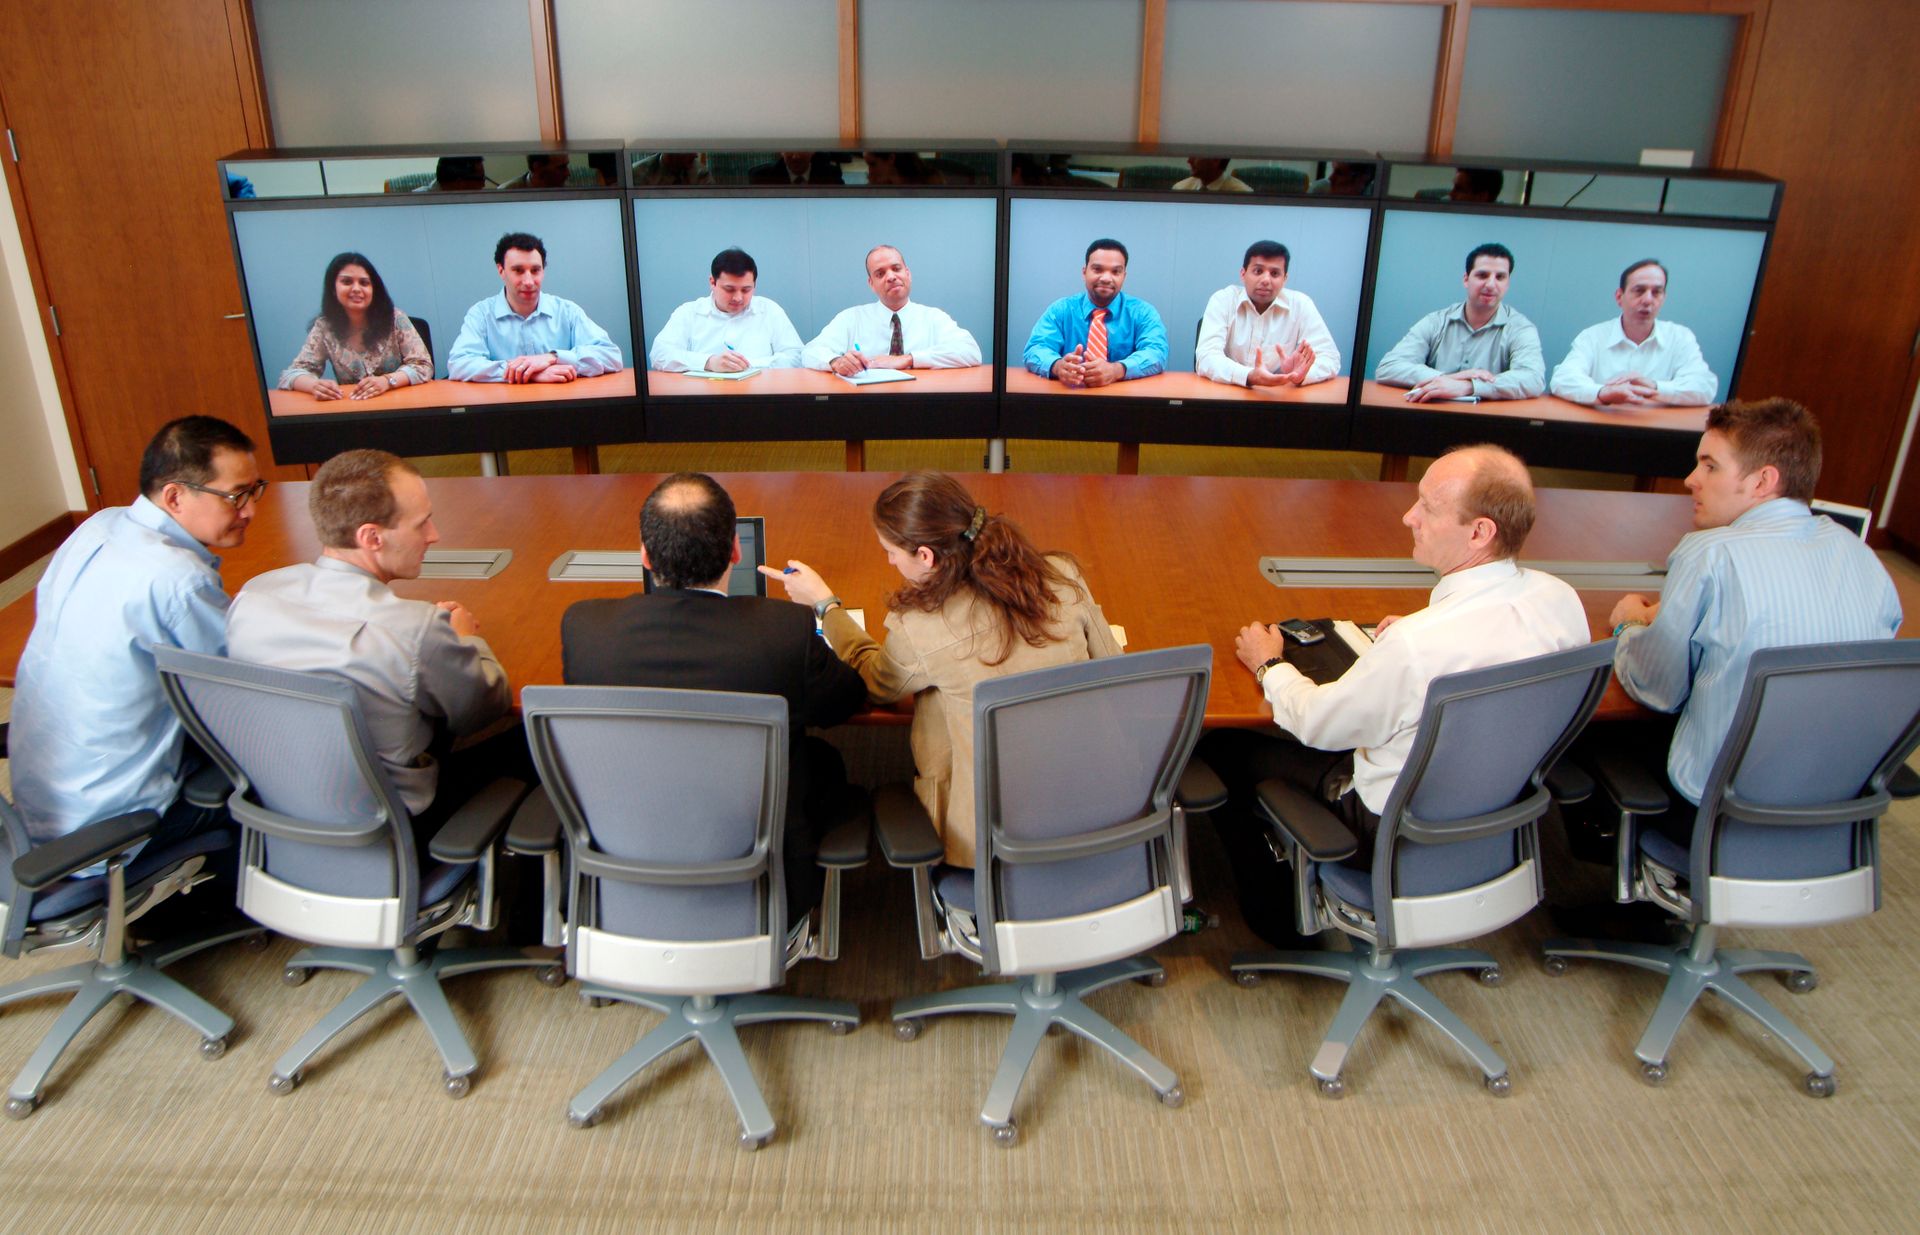
How can you communicate - with video chat - with people who have no access to the same tools you have. That question can be solved with ease if you work with open-source software.
The best player in the field is called jitsi and if you can create and maintain Linux servers it is only a matter of some minutes to provide your own instance.
The reason to use this and not one of the many commercial providers and software? This software is not bound to any hardware or software provider and you need a decent web browser to use it. As this needs no accounts the technical knowledge and ability for the end-user is really low.
I have used a Debian based VM for my own setup and installation. No other service is running on that host - what makes it easier as all defaults will just work.
A CX31 instance at the hetzner.cloud can take a medium number of simultaneously running video chats.
preparation
Think of a nice hostname - and have the domain ready. Set this up as the first step if you know the IP of your host. DNS might need some time to be usable.
First, install the necessary tools to install and secure the system. If you have installed NGINX (or Apache) before you install jitsi the Debian package will automatically modify the configuration and create all necessary bits and pieces to have this host ready in minutes.
apt install ufw apt-transport-https nginx
As the second step, configuration of the firewall -
ufw allow in ssh
ufw allow in http
ufw allow in https
ufw allow in 10000:20000/udp
ufw enable
Now is a good time to make a server reboot - just to be sure that everything is reboot save and running on restart.
jitsi installation
The installation guides are for most people not clear - what did you need to install and configure how. You have many options but to run a simple setup the following are the only needed steps.
If you want to scale you might want to read the follow up and install the unstable version of jitsi
wget -qO - https://download.jitsi.org/jitsi-key.gpg.key | sudo apt-key add -
sh -c "echo 'deb https://download.jitsi.org stable/' > /etc/apt/sources.list.d/jitsi-stable.list"

apt update

apt install jitsi-meet
During the installation, you will be asked for the hostname of this installation. This should be the name added to the DNS before the installation.
The second question will be if you want to use a self-signed certificate or your own. Please use the self-signed certificate. As we will replace that after the installation with a free let's encrypt certificate.
Like default, the service is enabled and started on Debian already. Let's finish the installation by adding let's encrypt certificates.
/usr/share/jitsi-meet/scripts/install-letsencrypt-cert.sh
This will run successfully if the DNS Name for this host is already given and reachable. If that is not the case you can re-run this script until the name can be verified.
Better save than sorry - reboot the server. After some time you can reach the host on defaults ports via browser and start instant your video chats.
using it
According to the Jitsi Team at the moment you should use a chromium based browser - like chrome, brave or chromium. Due to a problem with Firefox based browsers all the time HD videos are streamed and shared to all participants.
The most simple way to use your installation - navigate in your browser to your fresh installed server. You will be greeted with a screen similar to this picture.
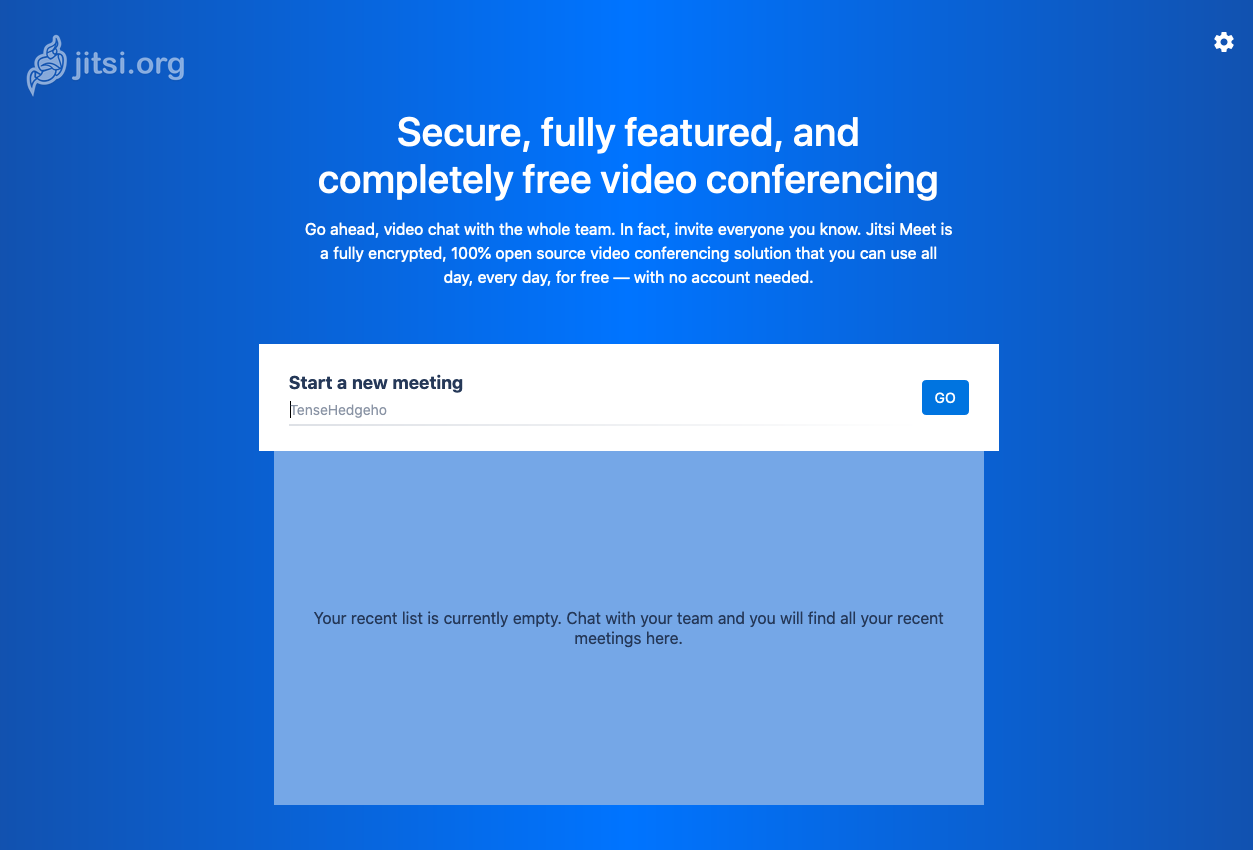
You should hit the gear icon top right and give the browser access to your microphone and camera. In addition to that, you can set your own name and enter an email address. Now the jitis server will request your gravatar for that email and you get a nice user icon.
Type in some random name in the middle or simple hit 'go' - this will pick some random words as the name for your video chat room.
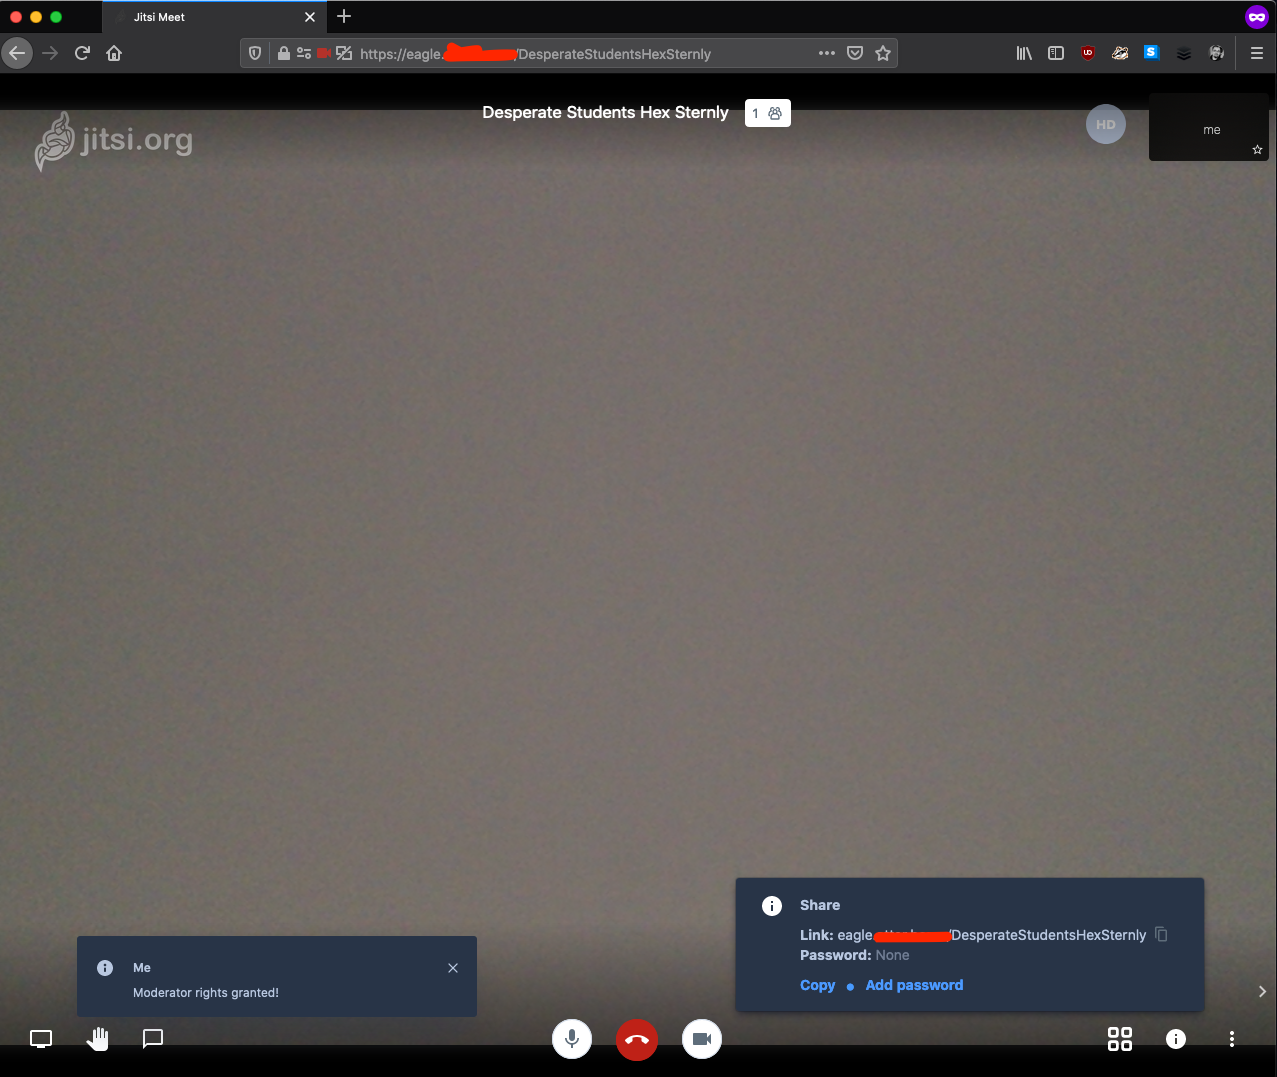
You see your room name as part of the URL now and that URL is what you need to share with the wanted participants. If no password is set for that room everybody that knows that URL can join the call and participate. The first person that enters a room will become the moderator with some special abilities.
All options you might know from the well known commercial tools are given - share your desktop, chat, raise the hand if you want to speak to name a few.
On mobile, you have the option to use a supported browser or the native app that is given for iOS and Android and via F-Droid. With that, you can switch the camera from front to back too.
Picture from: https://commons.wikimedia.org/wiki/File:Teliris_VL_Modular.JPG